


(Mods- Feel free to move to DIY, if desired. The subheading for that section indicated it was to ask questions, not to post unsolicited write-ups...plus, this seems fairly Auto-X-centric.)
I thought that I would do a quick write-up of my DIY in-car camera mount. I wanted something to take in-car video for several reasons:
- I wanted to show my wife what autoX was like, from my perspective
- I wanted to be able to look over my runs to see whether time differences were due to the lines that I chose, under/over-steer, mistakes (mis-reading the cones), etc.
- It is a cool way to brag to my non-car buddies about what I did over the weekend while they were mowing the grass.
That said, I wanted to go cheap for this attempt, in case I end up hating autoX or something (not likely). I read a few google results and decided that rather than spend ~$50, I could do it myself for under $10 (plus the cost of the camera).
Supplies:
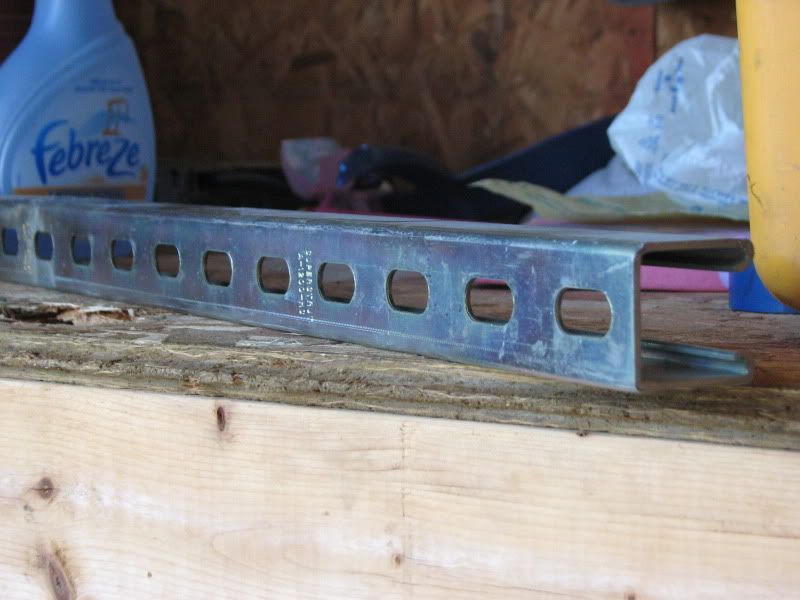
Square tubing (Mine is actually “C†channel that is about 1.5†square, and is perforated) that is long enough to span the distance between the inner headrest posts on your vehicle.
Free, from a scrap pile at work. Similar square stock is $8-12 at Lowes
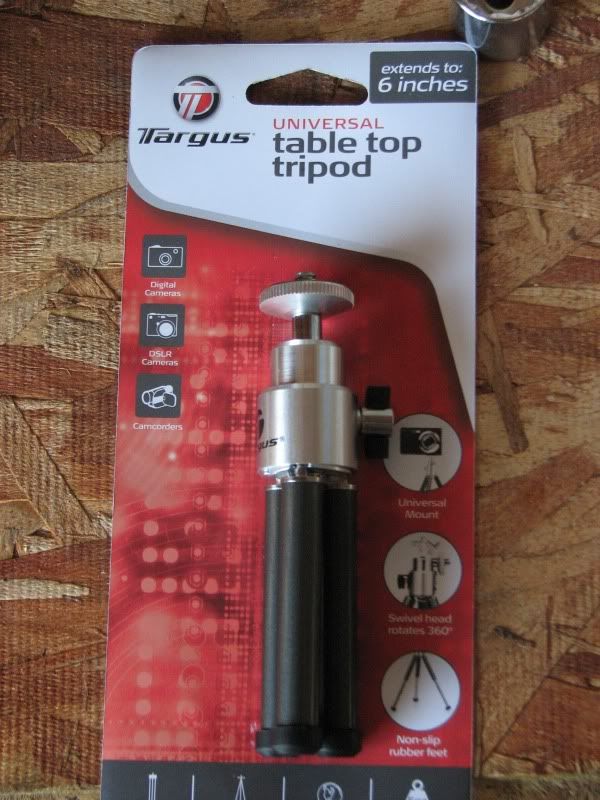
Tripod head or other camera mount. Mine was $6 at WalMart
Camera. I use a Canon S3 IS digital camera and a 4 GB SD card.
Miscellaneous washers, bolts, and nuts (I bought 2 fender washers, 2 lock washers, 4 nylon-insert nuts, and 2 bolts. $2.56 at Lowes. In the end, I re-used the parts from the tripod base.
Pictures of what I used:
Tools needed:
Drill and drill bits
Philips screwdriver
Hack saw
Optional:
Dremel, file, or tape (or all of the above)
Process:
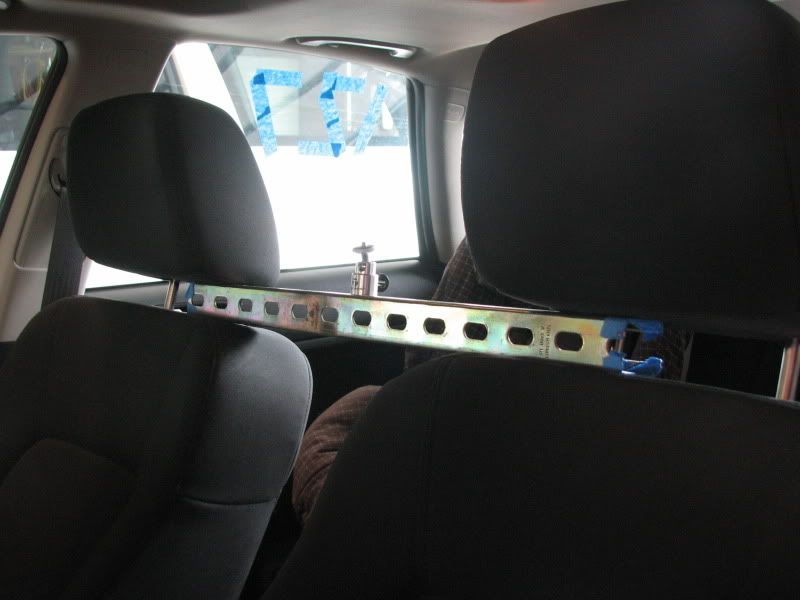
Determine the proper length of the main tube. I measured the distance between my headrest posts to be 22†center-to-center, so I allowed an inch or so at either end and made my cut with the hack saw.
Determine the proper hole size to allow the headrest post to go into/through the main tube. For me, it was 5/16†IIRC. Mark the center, drill a pilot hole, and then drill the larger hole. Do this through both sides of the tube.
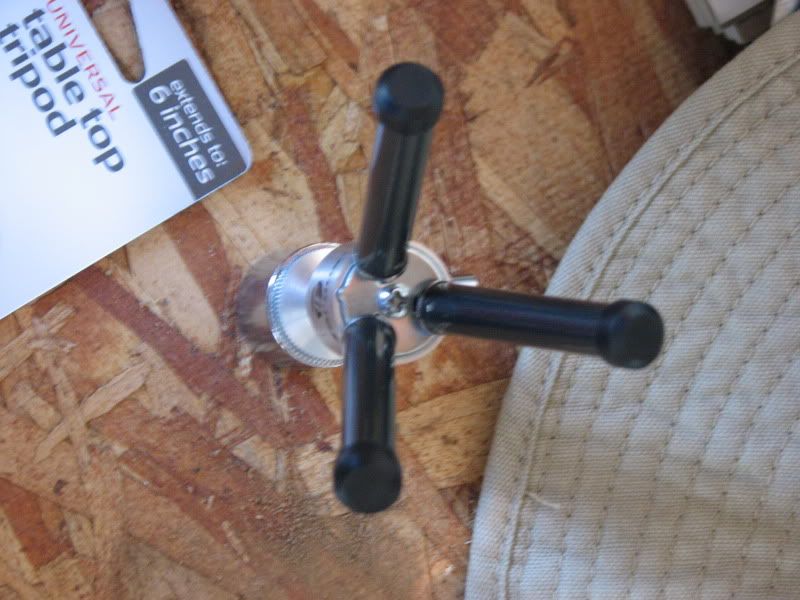
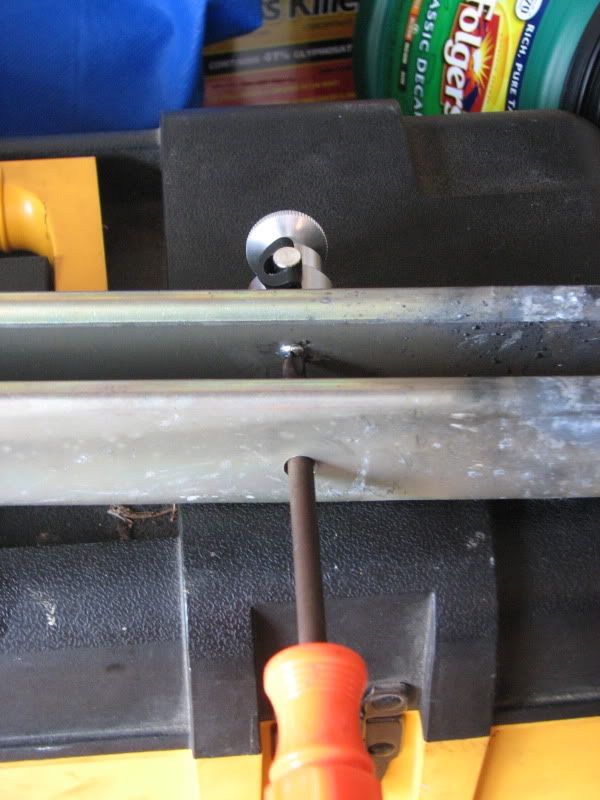
Disassemble the tripod. Note: You may have already done this to determine the proper screw thread and length, if you need longer screws or bolts. For the tripod that I used, the proper thread was an M4. (Insert Bevis and Butthead voice) If you spread the legs, there is a screw in there.
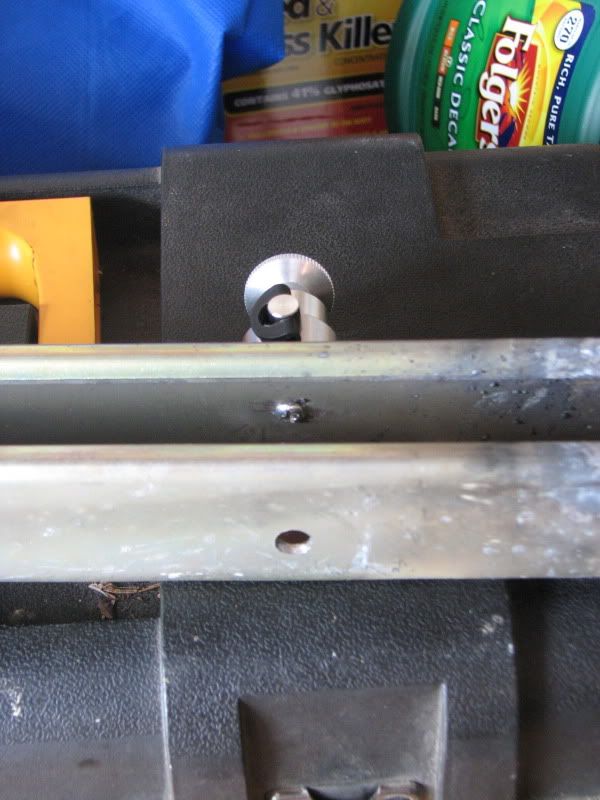
Now measure to the center of the bar and drill a hole just large enough to get the screw into. If you are using a longer screw, you will need to do this on both the top and bottom sides of the tube.
For my application, I wanted to be able to tighten the screw through the bottom, and since it was C-channel and not square stock, I could easily manipulate the screw into the head of the tripod. If this was square stock, I would have used a longer screw or bolt and tightened from the bottom, so the picture below may not apply to everyone. I drilled a ¼†hole in the bottom to allow access to the screw head with a #2 Philips screwdriver.
After this, I reclined the seats, put the headrest posts through the drilled holes, and reinstalled the headrests. The hardest part was to incline the seats at the same rate so as to not scratch the headrest posts. I am sure that there was a better way to do that part, but it worked fine for me. Removal was the opposite.
Installed pictures:
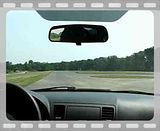
Video, as shot from the mount:
Lesson learned: Secure the lens cap!

 Reply With Quote


Bookmarks