


Pro log:
Well doing a head gasket DIY would be nuts. Plus I'm doing a few other things along the way, so here's a little journal of the events as they happen over the next few weeks.
Back story:
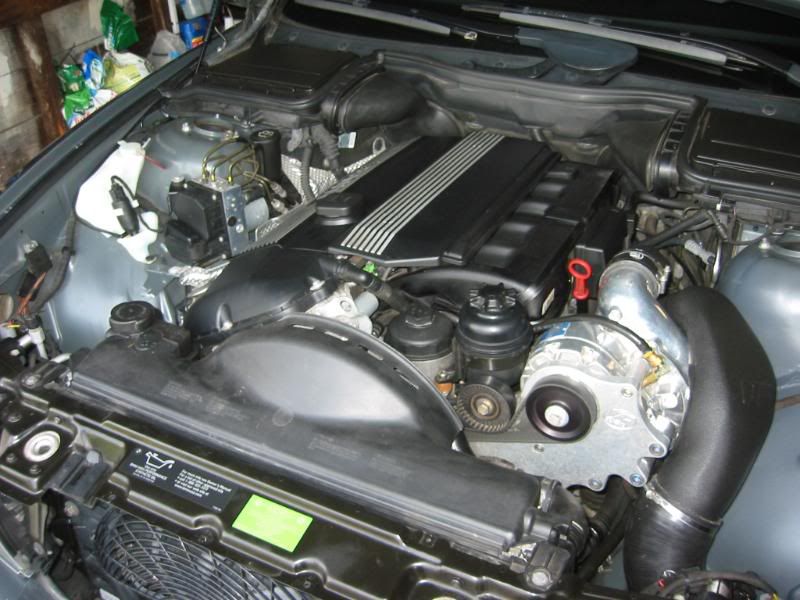
I have owned this car since new. Have done all the maintenance as scheduled / needed. The car has never overheated. That big shiny thing on the front of the motor has been on for 20,000ish miles. A leak down test 3 years ago, when the blower was put on, showed slightly better numbers, but did indicate the head gasket would need to be addressed blower, or no blower. So, the supercharger did NOT cause this condition.
Present Day:
About a 1/2 dozen months ago a leak down test came back within barely out of tolerances. So I decided after some bad luck with local shops I would DIY the head gasket. Replace / upgrade parts along the way. Knocking out a few projects at once. All the proper tools and Bentley manuals will be used. If a better part is made it will be used. Otherwise it's OEM. Believe me I looked & contacted companies directly for parts. If it's out there (and not a gazillion dollars) it's in the mix.
Here's what we're looking at so far.
1- replacement of cooling t-stat, Stewart water pump
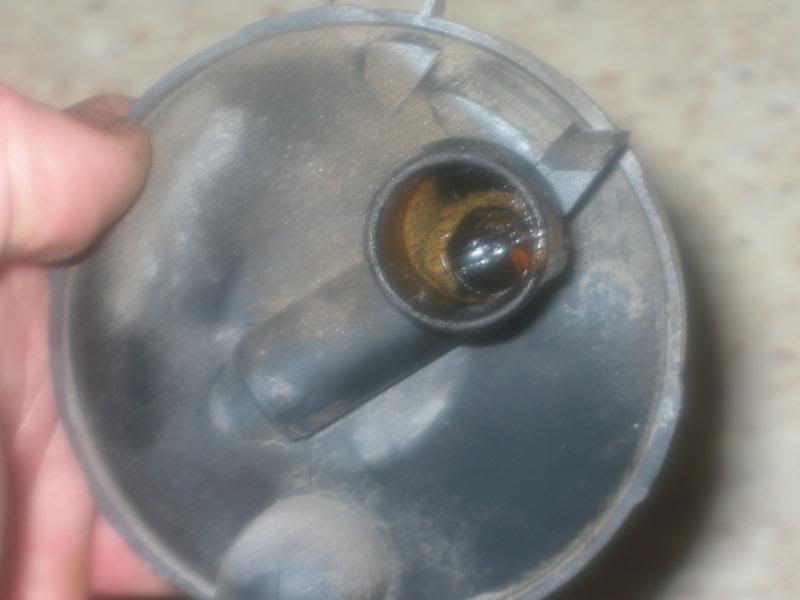
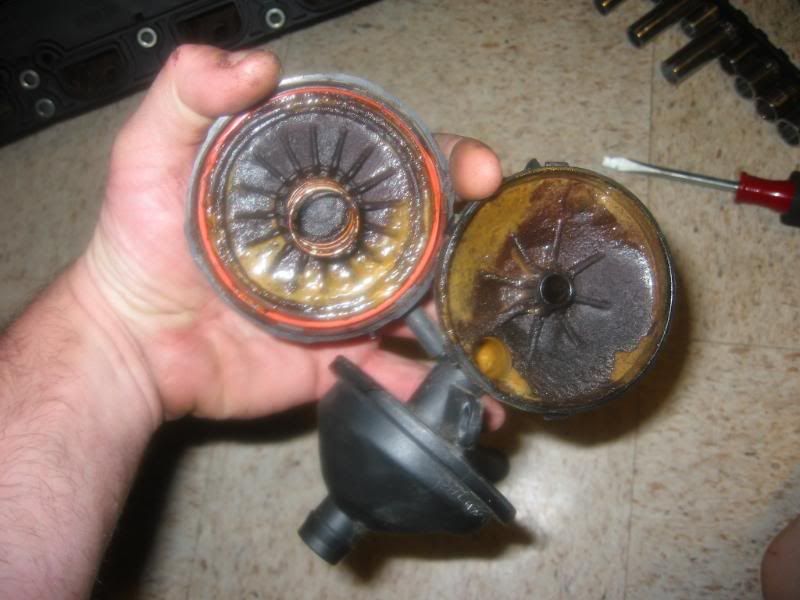
2- update oil separator
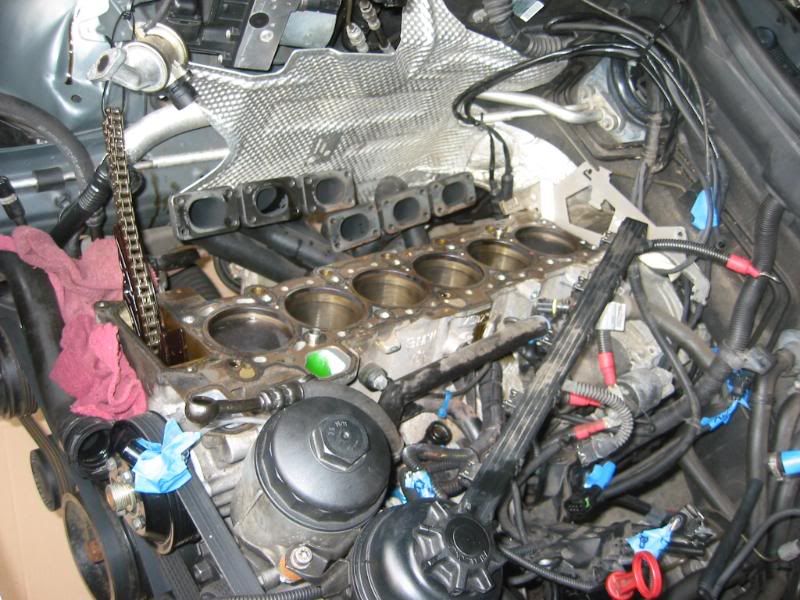
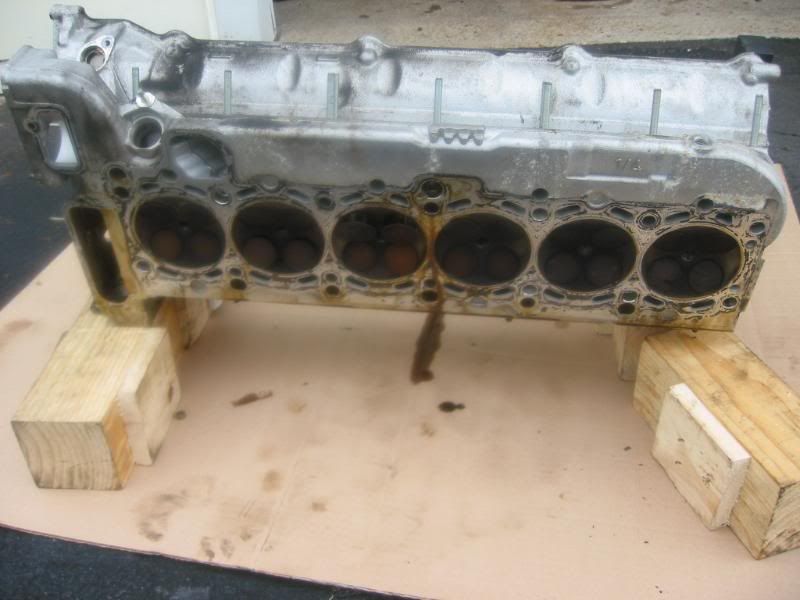
3- remove head and send to machine shop
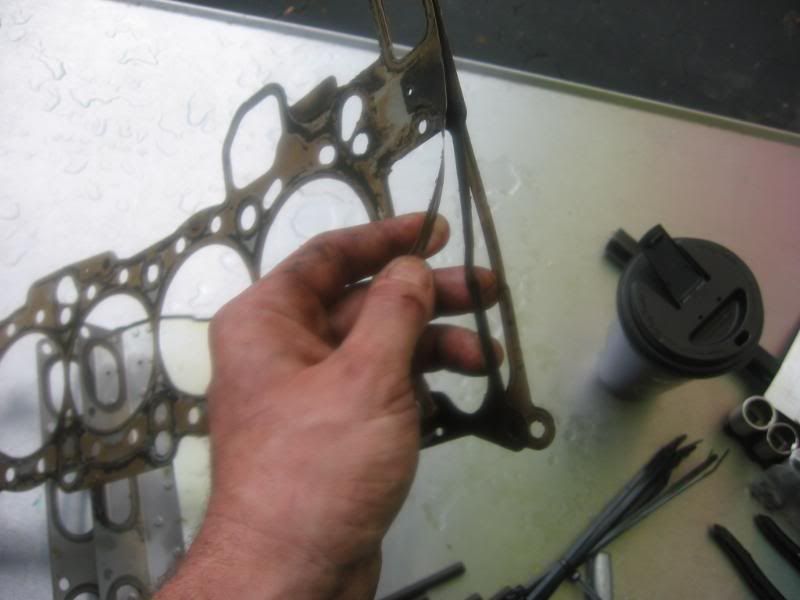
4- replace all affected gaskets
5- clean everything
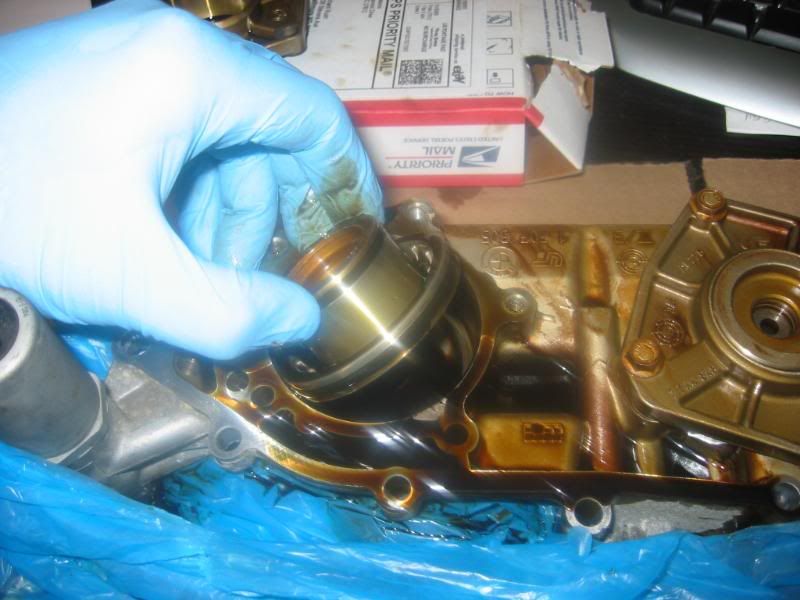
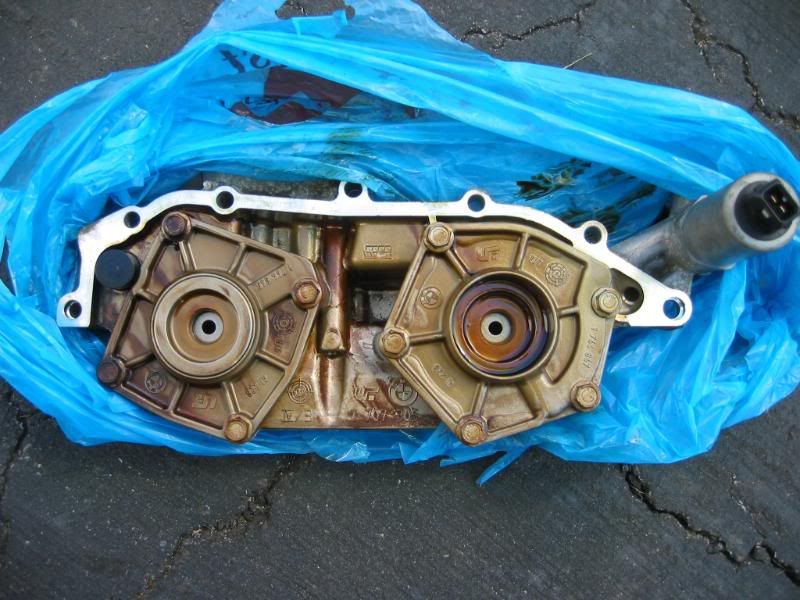
6- replace vanos seals
7- not blow up car, very important
Tools & stuffs used so far:
1- metric wrenches to 16mm & sockets to 22mm w/ breaker bar
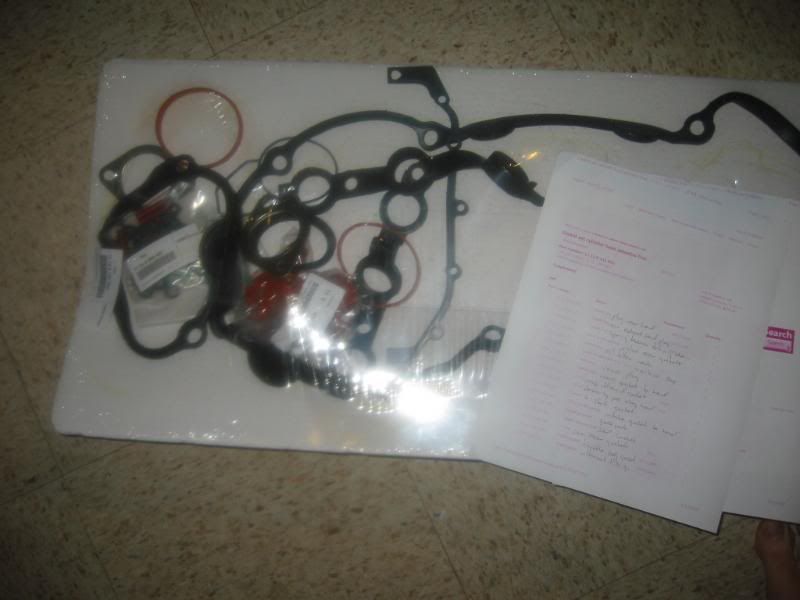
2- gasket kit. head gasket comes separately in 2 thicknesses
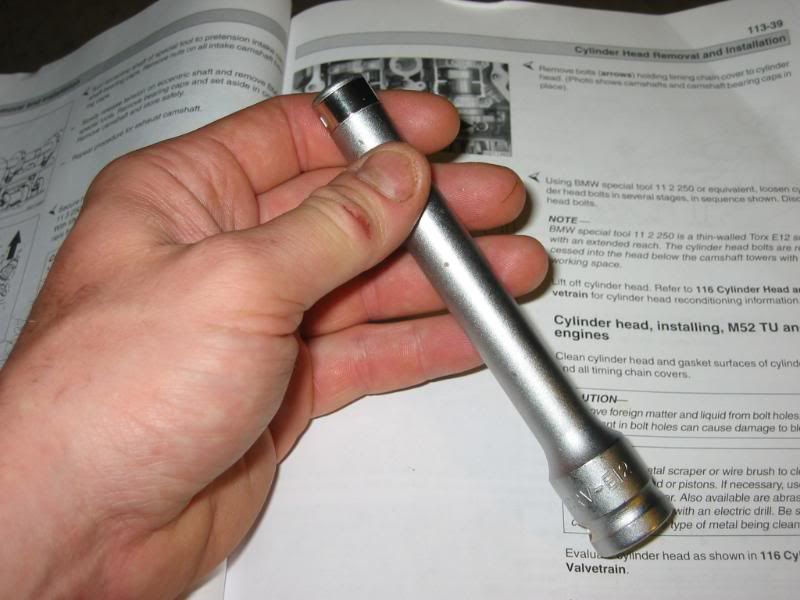
3- e12 socket for removing head bolts
4- spark plug socket
5- new fluids & filters
6- trusted machine shop
7- new head bolts
8- new vanos seals & exhaust manifold gaskets
9- new spark plugs
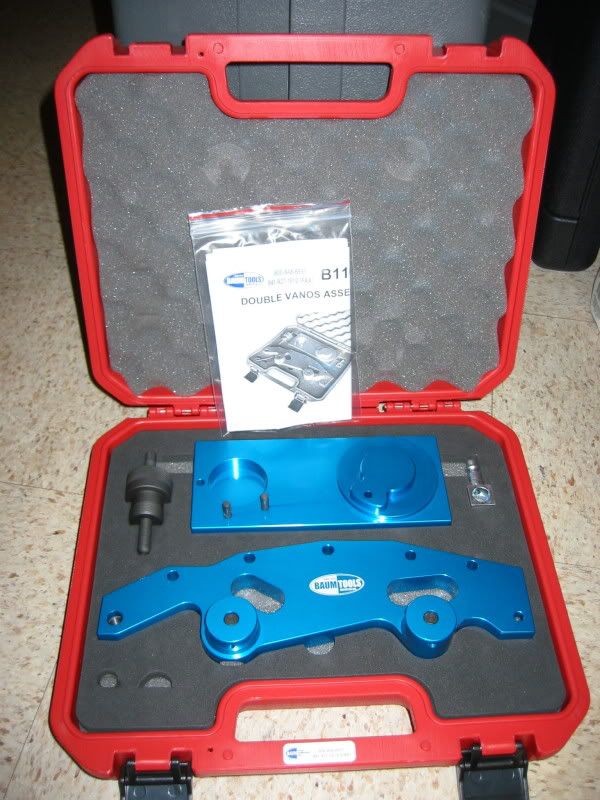
10- double vanos timing tools (set)
11- 5-80 ft-lb torque wrench (with newton meter scale is preferred. This way the inch-lb values can be used on the same wrench)
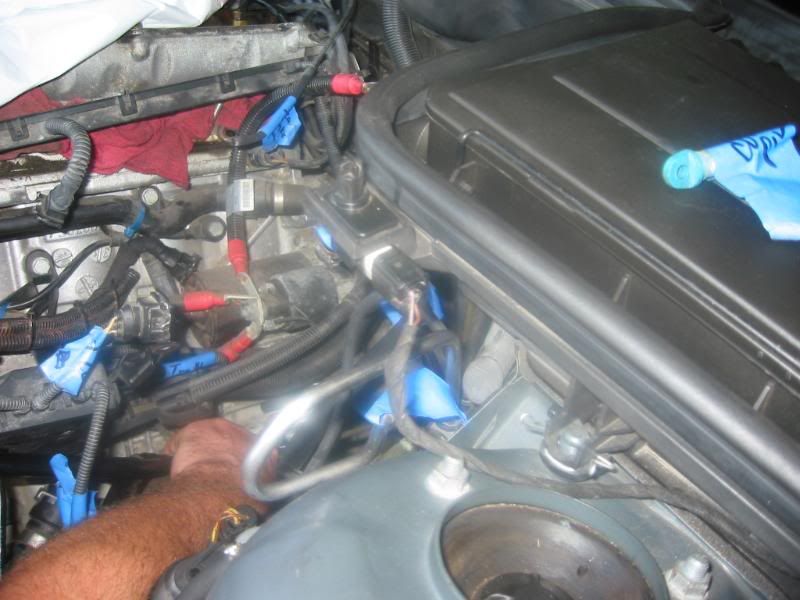
12- tape, plastic bags & makers to label things
13- penetrating oil
14- Patience
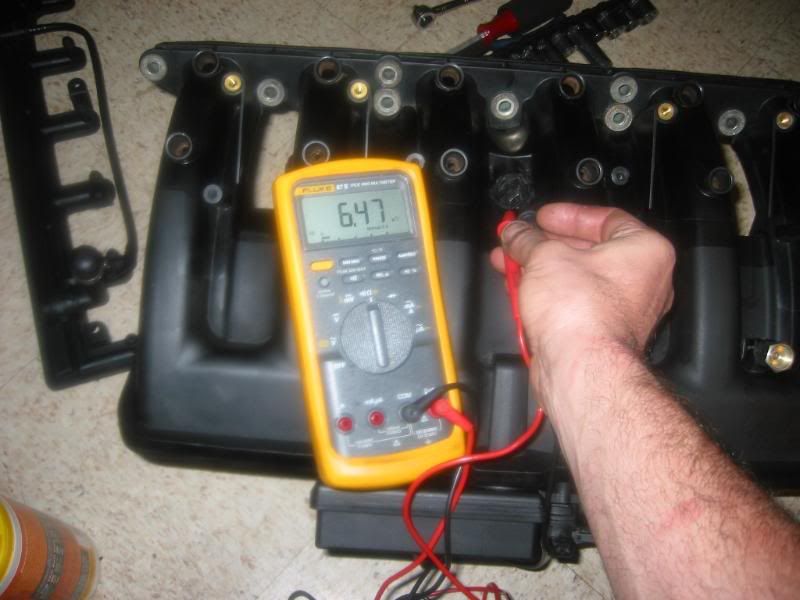
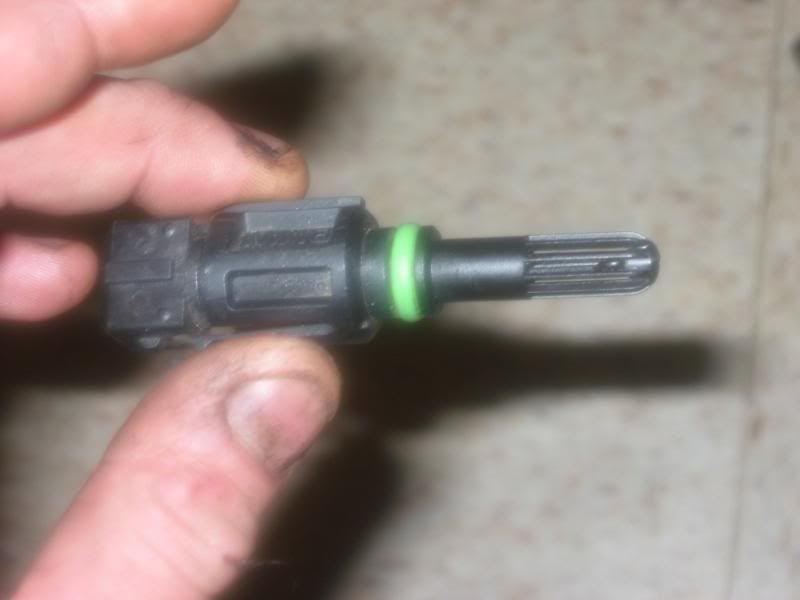
15- various other non-related parts that are wise to install ( oil separator, t-stat, sensors, water pump... )
16- vacuum tubes
17- Patience
18- Bentley manual, http://www.pelicanparts.com/bmw/tech...ead-Gasket.htm , http://picasaweb.google.com/cowenj1/BMWFixing#
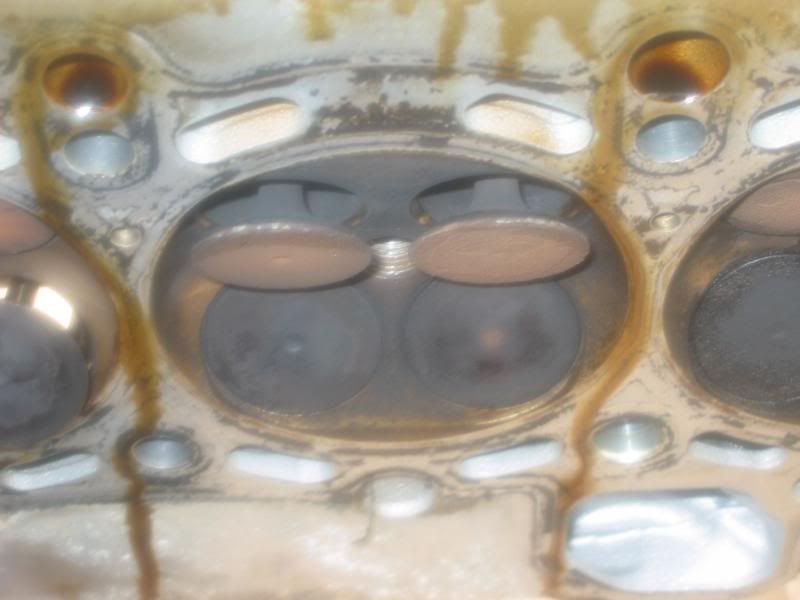
before
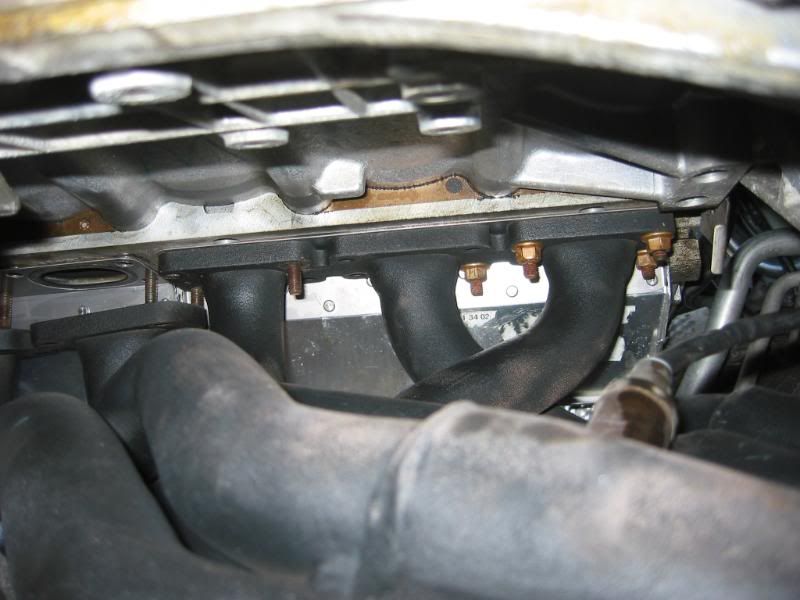
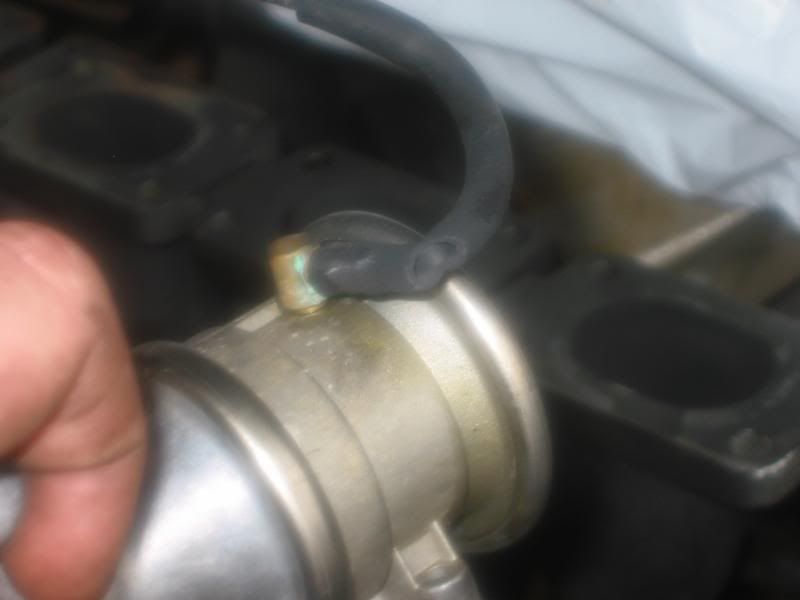
Attempting the headers. This is easier if the front is done first, and they are disconnected from the rest of the system.
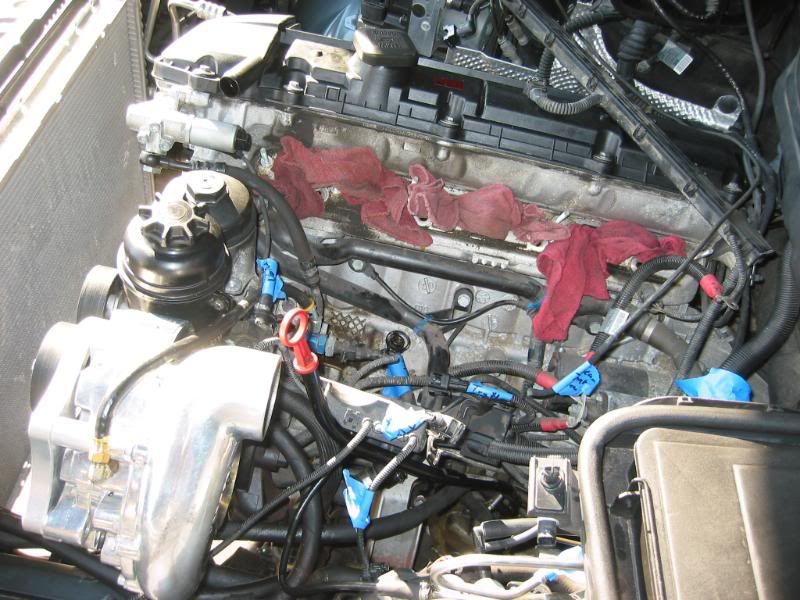
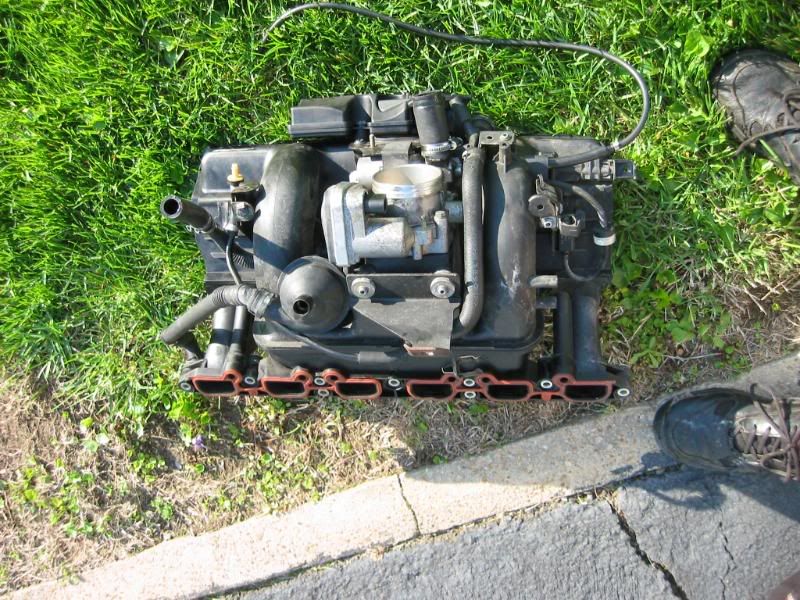
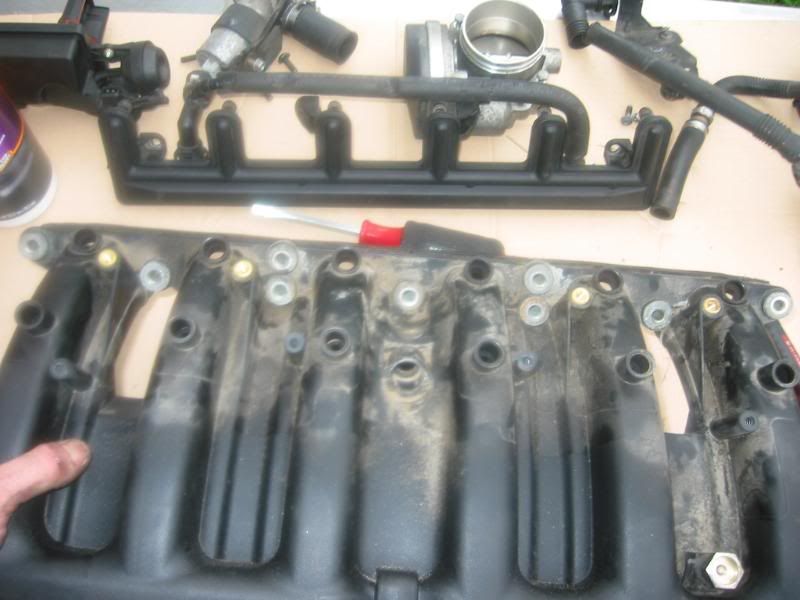
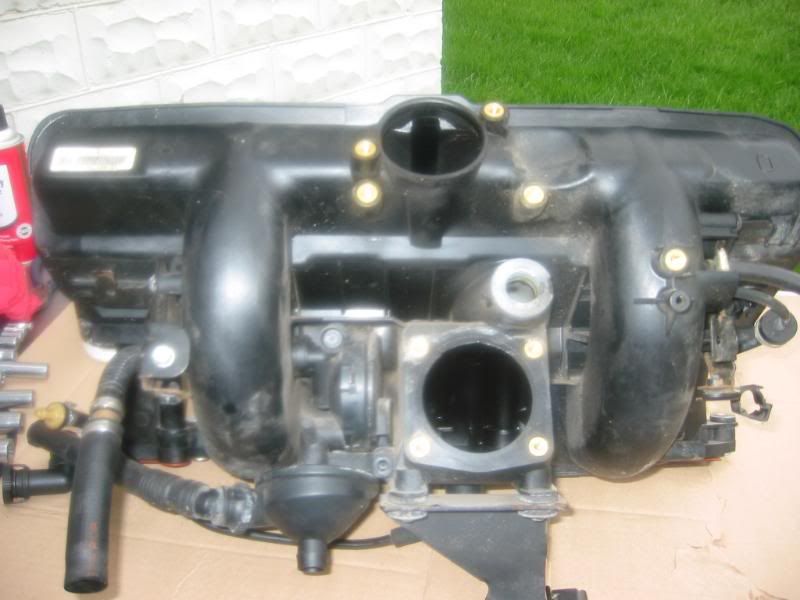
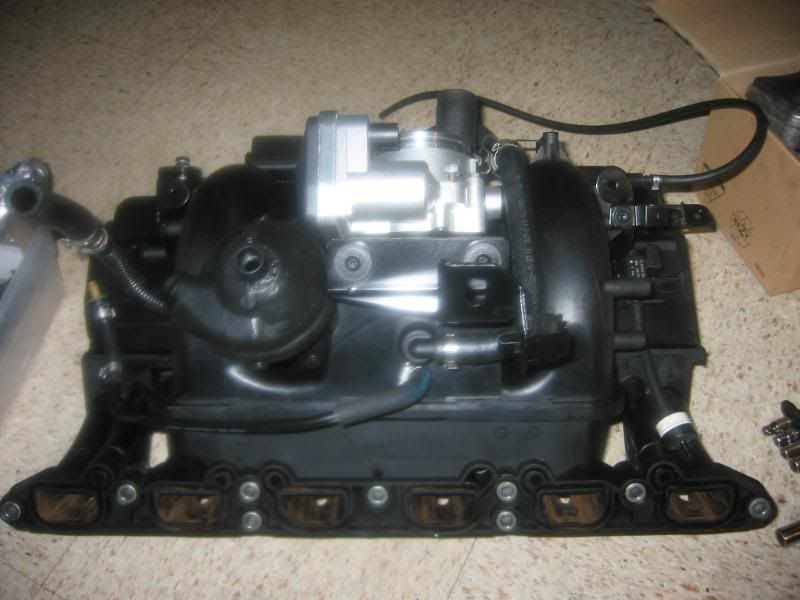
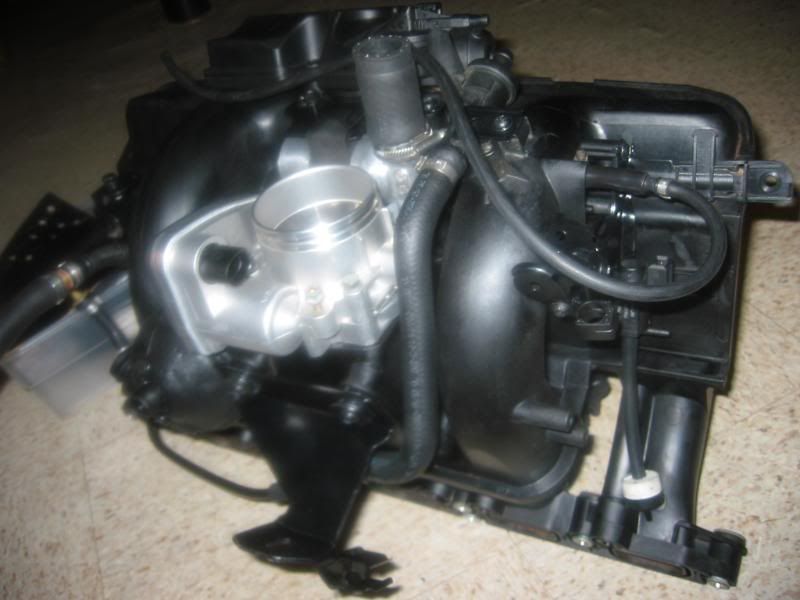
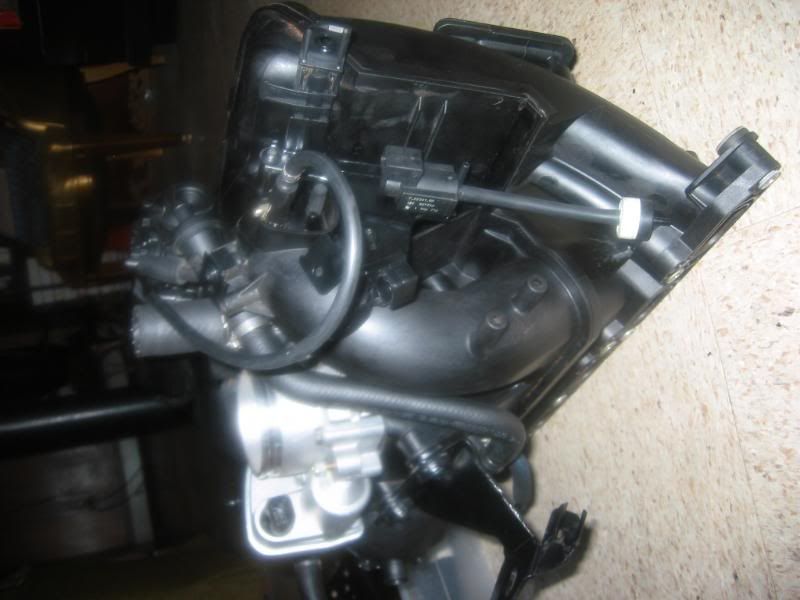
Intake out, and everything labeled. Also all nuts, bolts... have been bagged and tagged.
Going to re-build sometime this week. Here's a bottom shot of the intake manifold.
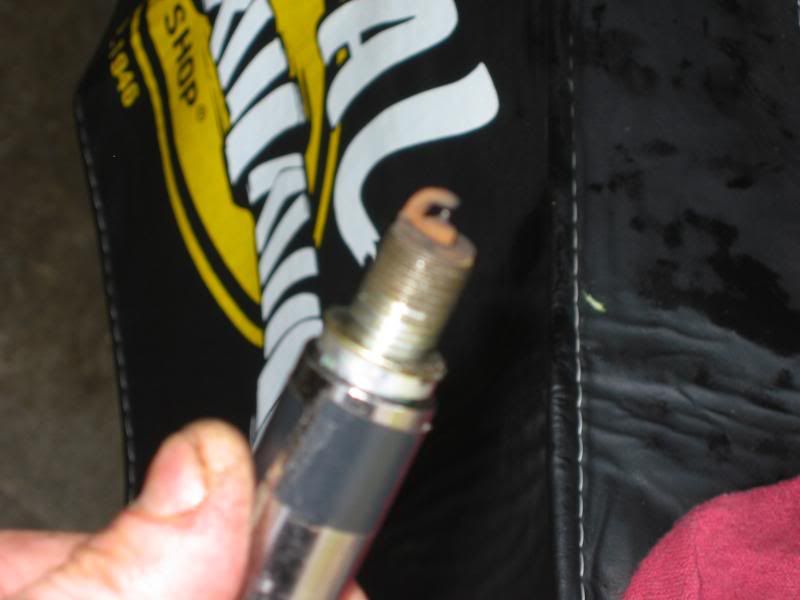
Damn, fouled plugs after 20,000 miles. May go back to the Bosch 4 prong OEM style.
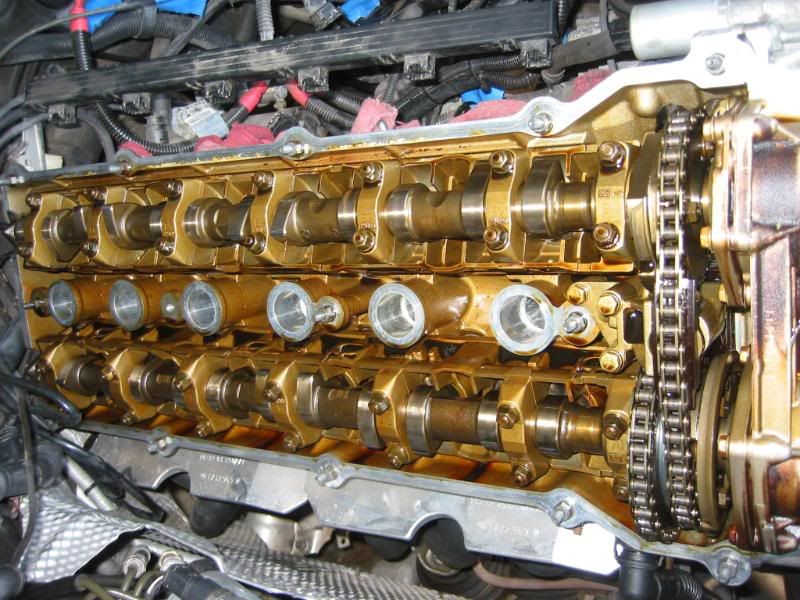
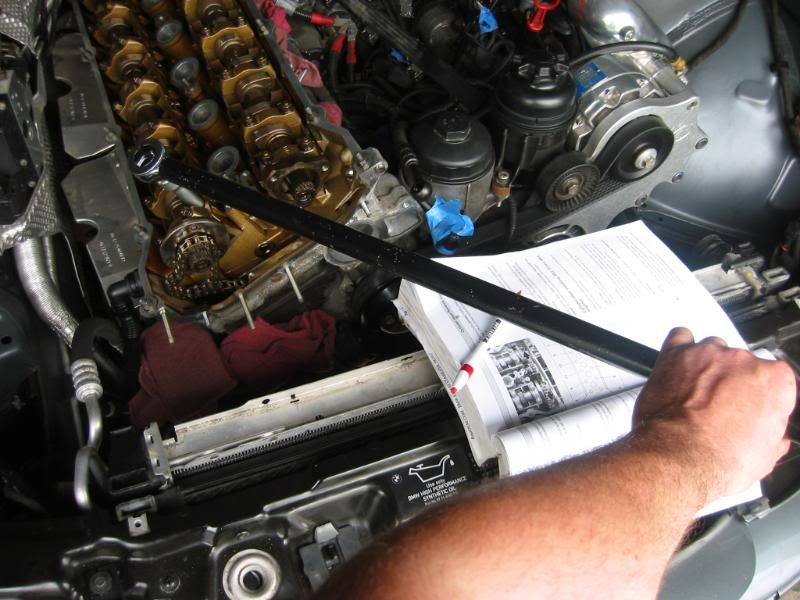
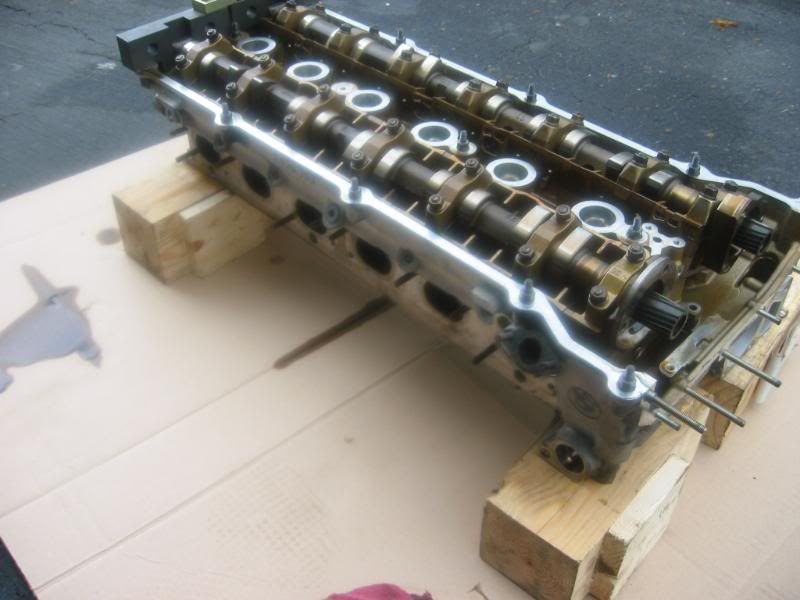
Valve cover off. Not looking bad at all after 156,000 miles.
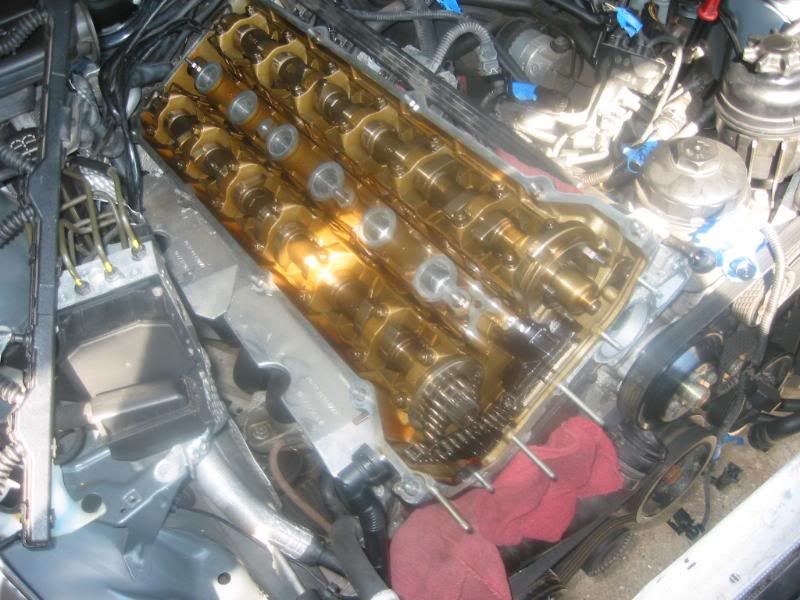
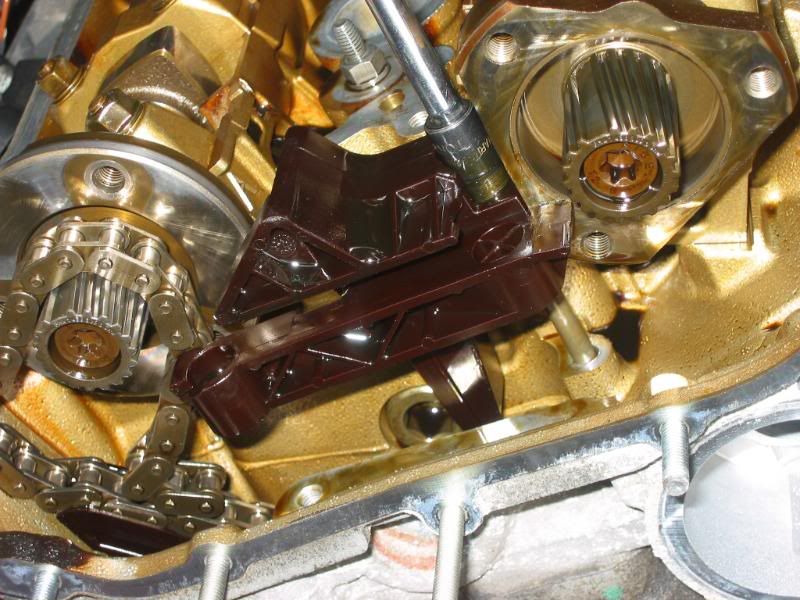
Vanos removed. New upgraded seals going in from http://www.beisansystems.com/index.html

 Reply With Quote
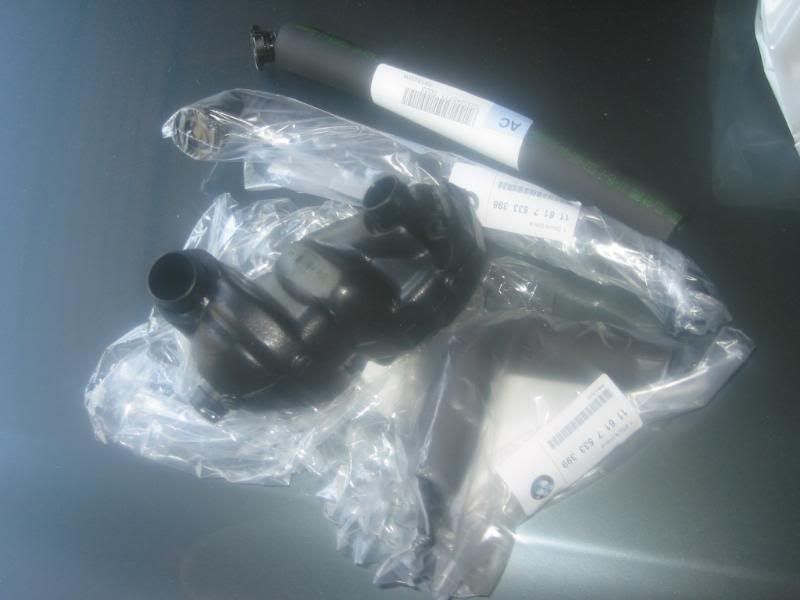


Bookmarks